How To Clean Krups Espresso Machine? In 3 Simple Steps
Our site includes affiliate links, which may result in us earning an affiliate commission.
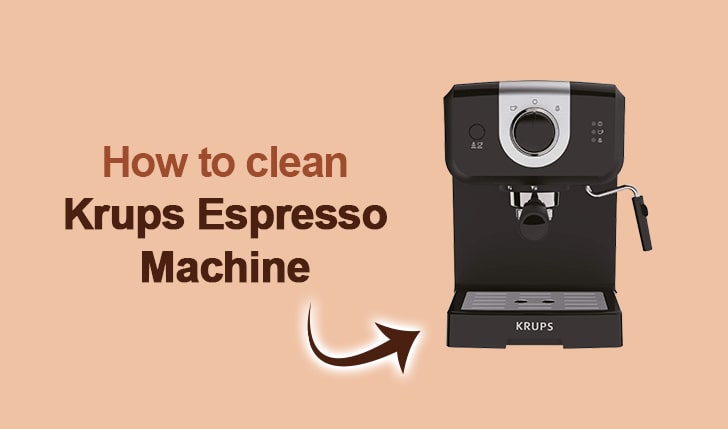
For any avid coffee lovers out there, cleaning your Krups espresso machine is an essential part of keeping it in great working order! With regular maintenance, you can extend the life of your coffee machine, and it will make delicious espresso drinks for years. But now you might be thinking, how to clean Krups espresso machine?
The answer is pretty simple — first, remove the detachable parts and clean them. After that, start the decalcifying process to clean the interior of the espresso machine. And finally, attach all the parts again; that’s it.
It seems like child’s play, right? Well, it’s, but still, we recommend you to read the entire guide. So you’ll know what you have to do and how you can perform that step better, leaving no chances of mistakes.
When Should You Clean Krups Espresso Machine & How?
Suppose you see that the espresso maker is dirty and the taste of coffee has changed.
Following our guide, you should do a deep cleaning of your Krups espresso machine. Otherwise, for regular use, clean all accessories after making coffee.
How to Clean Krups Espresso Machine – Step By Step Guide

Here’s the step-by-step guide to cleaning the Krups espresso machine. Make sure to follow all steps properly and one by one. Leaving one step or performing any task wrong can again lead to a dirty coffee machine.
Step No #1 – Remove All Parts And Clean The Espresso Machine Side
The first step to cleaning the Krups espresso machine is to remove all the detachable parts like the water tank, drip tray, and so on. You can easily remove all of these parts within seconds. After removing them, take all of them to the wash basin.
In the wash basin, you must clean all the parts thoroughly. There’s no need to use any special dish wash; a regular one we all have in the home is more than enough. Just remember to clean everything perfectly.
Video to understand the outer part cleaning!
Step No #2 – Start Descaling Process
Once you clean the parts, leave them on the counter to dry. After that, focus on the next process, the descaling process. In this process, you must clean the espresso machine from the inside, not from the outside.
First, take the water tank from the counter and fill it with water. Attach the tank again with the espresso machine and turn it on. This action will start the water cycle flow throughout your Krups espresso machine.
Afterwards, use decalcifying powder or tablet and mix it in a half-quarter of water. Then add this mixture to the water tank. Some people use vinegar solution for this process, but we don’t suggest it because it leaves a smell.
Once you add the decalcifying powder or tablet, run two water carafes. This will help remove all the dirt inside the espresso machine.
Step No #3 – Assemble All The Parts
Lastly, only two things remain. One is to take a paper towel and clean the Krups espresso machine exterior. After that, assemble all the espresso machine parts again and enjoy your cup of coffee.
How to clean Krups espresso EA8150?
How Often Should You Clean Krups Espresso Machine?
Regularly cleaning your coffee machine is essential for producing the tasty and healthiest coffee. Depending on how often you use it, a good rule of thumb is to clean the outer part and its accessories whenever you use it.
However, for a thorough cleaning, you should do it at least once a month or after a month. You can also do deep cleaning after two to three months if you don’t use the coffee maker. Otherwise, it’s best to do deep cleaning once a month.
Bottom Line
Here comes the end of our guide: how to clean Krups espresso machine. We’ve mentioned the entire process in simple steps. The first is cleaning the outer part; the second is cleaning the inside. And then, at last, you have to assemble the espresso machine again.
We are sure that if you follow our guide properly, there will be no issues, and you’ll be able to clean the espresso machine like a Pro. Still, if you face any issues, we suggest you watch the videos we’ve added to our guide.


